Hatching Chickens from Day One
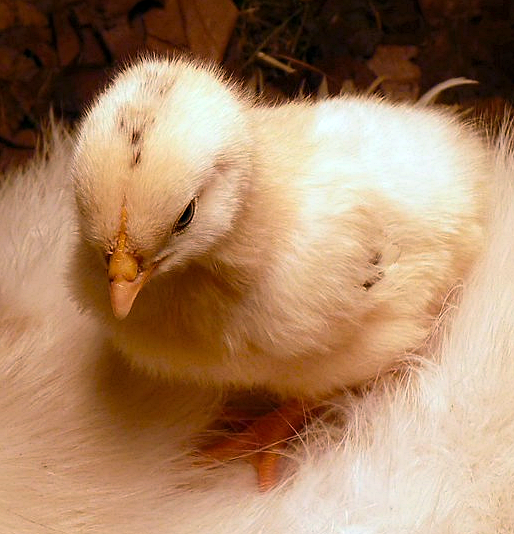
Whether you hatch them yourself or bring home day old chickens, meeting your baby chicks for the first time is very exciting. There are three very important things to remember when it comes to these tiny balls of fluff. They need to be kept warm. They need fresh water and the right feed every day. If you ensure that you start them on a good quality chicken feed and update to the next growth stage feed as you go along, you are on your way to hatching chickens which will be healthy and strong.
If you start your chickens well, they will grow up
well. It is very difficult for a chicken to overcome a bad start. You need to
prepare well before the chickens are hatched to make sure you can give them the
right start.
2 Days before arrival
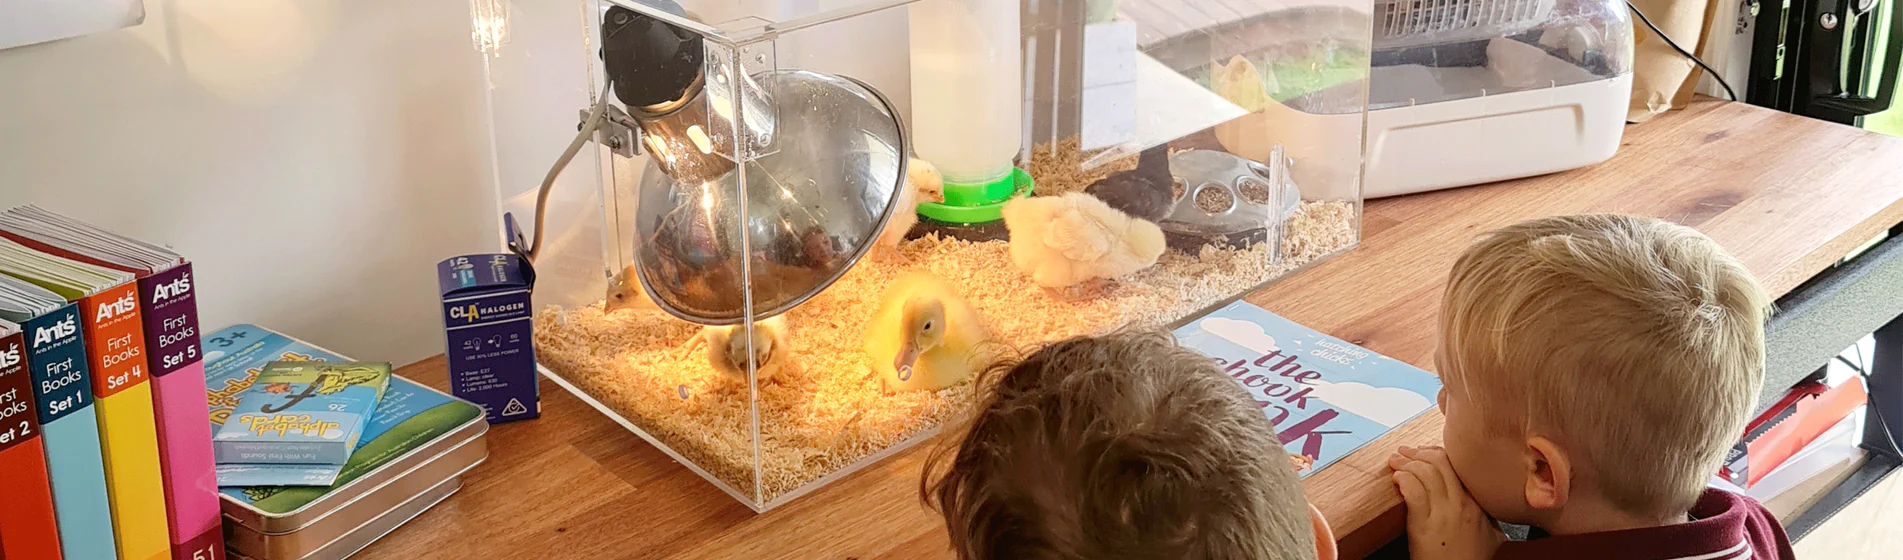
Set up your brooder at the right temperature. Make
sure it is properly clean and that the bedding is dried out well before the
chicks are put in. This ensures the brooder is already warm and there is no
dampness in the brooder when the chicks are ready to go into it.
Day 1
Temperature settings
For the first 7 days, your chicks should be at a temperature of 35 degrees Celsius. Then reduce the temperature to 32 degrees C for the next week and down to 29 degrees C the following week. From week 3 to 4 they should be at around 26 degrees C and finally to 24 degrees C up to 5 weeks. You should put up a reminder chart to ensure you are changing the temperature as indicated. Your success in hatching chickens relies on following these numbers.
The brooder
Make sure your brooder allows for around 1 square metre per chick. It must be at the right temperature and not have any drafts blowing into it. A circular brooder that can be expanded is the best choice.
Heat lamp
Place your heat lamp in the middle of the brooder to allow for a better spread of warmth. It should be at least 50cm above the bedding. There should be around a metre space between the lamp and the walls of the brooder. There should be enough space for the chicks to move away from the heat source if they get too hot.
Bedding
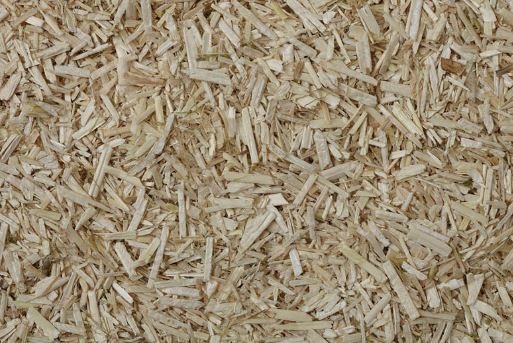
Bedding such as wood chips, dust free shavings, hemp and so forth are the best options for your chicks. The material has to be absorbent and free of chemicals and pesticides. Put down a 10cm layer and cover the entire area adequately. Remove the bedding every day to prevent dampness and bacteria build up in the brooder. Do not use shavings such as cedar that have a strong odour. These types of shavings can affect the health of the chicks over the long term.
Lighting
For the first week, provide the chicks with around 18 to 22 hours of light. After the first week you can reduce it to 16 hours until they are 20 weeks old. The light should be around 40 Watt strength. Place
1 bulb per 3m x 3m space.
Feed
When hatching chickens each chick should have around 10cm of feeder space. The feeders should be low enough for the chicks to get to easily. Trough feeders are a good choice for slightly older chicks. Cleaned egg cartons make good feeders for tiny chicks. Make sure it is properly accessible and that all chicks are able to eat at the same time if need be.
Water
You need to place containers for chicks to get water away from the lights. Place the water in the brooder the day before your chicks are placed in the brooder to ensure the water is room temperature. You need to have at minimum 2 waterers that hold 1 litre of water per 25 chicks in your brooder. You need to have the right water containers to prevent the water being dirtied or chickens falling into the dishes. Once the chicks arrive, you can introduce them to the water areas but wait for a few hours before you put the feed in for them. Your chicks will need to hydrate themselves. Take a few of the chicks and gently dip their beaks in the water. The other chicks will learn from these chicks. Just keep an eye out to make sure all of your chicks are drinking within the first day.
Teaching your chicks to eat feed
Once the chicks have had two or three hours to drink water and get hydrated, you can introduce the feed. Make sure you use a good quality starter feed. It needs to contain at least 18% protein to help the chicks grow. The food should also contain amino acids, vitamins, prebiotics, yeasts and probiotics for optimal health. Make sure you purchase from a trusted brand. Place the feed on a flat or shallow pan or on squares of paper for the first day. On the 2nd day, add in the feeders but continue to use the flat surfaces as well until all chicks are eating from the feeders.
Changing Feeds
As the chicks grow, their dietary needs change as well. Ensure that you change the feed according to the age of your chicks to make sure they continue to grow and thrive. Raise the level of the feeders and waterers as the chicks grow so they are kept even with the average beak height of your chicks.
Additional signs to look out for when hatching chickens
If your chicks are crowded together under the heat lamp and are making distress calls, your brooder may be too cold. Make sure your temperature in the brooder is correct and there are no drafts coming through.
If your chicks are spaced out along the far edges of the brooder and are panting or have their wings extended, they are likely to be getting too hot. They are also not likely to be making much noise. Check the brooder temperature and the height of your heating lamps.
If your chicks are all squashed up on one side of the brooder, you may have a draft coming in. The temperature in the brooder is probably uneven. Check the temperature in the brooder on opposite sides and correct any imbalances.
If your chicks are evenly spaced in the brooder, are eating and drinking well, they are more than likely warm and happy, which is how you want them to be. Stick to the basics of keeping your chicks well fed, hydrated and warm and you will raise strong, healthy chickens.
Experience and Learn Egg hatching with the 12 Day Chicken Hatching Program
Recommended for Early Learning School centers, Aged Care, different companies and at homes for personal learning experience. Providing Chicken Programs Since 2001 to Sydney, Central Coast, Canberra and the Illawarra.
