Top Tips For Incubation
Preparing to hatch your new baby chickens can be a very exciting time. It can also be quite stressful if you don’t know all the tricks and what to expect. To make the whole process a little less daunting, we have put together a list of tips so you can relax and enjoy the experience.
-
Select Top Quality Eggs
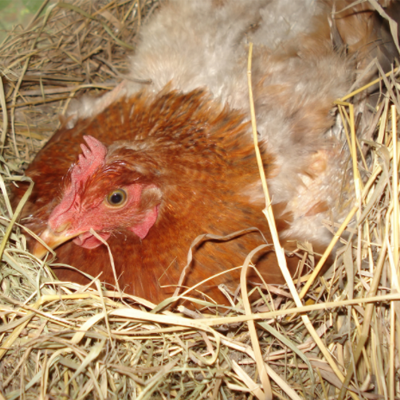
When you are choosing which eggs you want to incubate, make sure you are choosing fertilized eggs from your best birds. You also need to make sure that the chosen eggs have no imperfections or signs of damage.
Choosing poor quality eggs that are more than a week old will severely decrease your chances of success when it comes to incubation. It is wise to avoid eggs that are too large or small, have a thin shell, have a variety of bumps, lumps and show signs of damage or imperfections.
-
Choose The Right Incubator
Choosing an incubator depends a lot on how many eggs you want to hatch and how much effort you’re willing to put into looking after the eggs and chicks afterwards. A lot also comes down to how much money you’re willing to spend.
There are, however, a few features to look out for when going incubator shopping to make the whole process easier and less of a risk. Eggs need to be turned regularly to keep the embryos alive and healthy. To make this process easier and less time consuming make sure that your incubator has an automatic egg turner.
The other important thing is that it has a very accurate and powerful temperature control system. The correct temperature and humidity are very important if you want to hatch eggs successfully. A temperature and humidity alarm is also important unless you don’t mind checking every so often. When your temperature or humidity goes out of their required range, an alarm will go off to make you aware and prevent certain disaster.
-
Prep Your Incubator
Incubators are responsible for creating life so you have to make sure that everything is working correctly before you start to incubate your eggs. To prepare your incubator make sure you clean and disinfect it properly and let it dry completely before use. Choose an appropriate place for your incubator to further increase your chances of a successful hatch.
There should be no drafts, the temperature should stay fairly stable and there should be no chance of it being accidentally disturbed or knocked over. If possible, run your incubator for a week before starting incubation. If that is not possible, at least try to run it for 24 hours before you start incubating your eggs.
Doing this will give you time to see how your incubator works and you can make the necessary adjustments to the temperature and humidity so it is perfect when you place your eggs inside.
-
Heat And Humidity
Heat and humidity will be your new best friends for the next 21 days while you’re waiting for your chicks to hatch. Maintaining the correct heat and humidity is the most important part of the whole incubation process, it can be the difference between a successful hatch and a hatching nightmare that came to life.
The optimal incubation temperature is 37.5 degrees Celsius and the humidity should be around 50-55% until day 18. On day 18, you will need to increase the humidity to 70-75% for the last 3 days to have a successful hatch.
Make sure to check the humidity settings on your incubator before you incubate your first set of eggs, the settings can vary from one model to another. If you need to increase or decrease the humidity level of your incubator, you can adjust the vents accordingly or add or remove water as required.
The environment around your incubator will have an effect on the humidity and temperature inside your incubator so make sure the environment is as stable as possible.
-
Turning Tips
If you don’t want to be too involved in the incubation process, then you have to make sure your incubator has a trustworthy egg turner. Egg turners will turn the eggs for you every 1-2 hours. If your incubator is not equipped with an automatic egg turner, you will have to do this yourself, but turning eggs every 1-2 hours just isn’t practical so 3-5 times a day will do.
Turning is very important since it prevents the embryo from getting stuck on the shell membrane and evens out the temperature inside the egg. If you can, turn them more in the first week of incubation (up to 5 times a day) you can scale it down (3 times a day) towards the end of incubation.
To make life easier for yourself, mark one side of your egg with an X and the other with an O. Doing this will prevent confusion when it comes to turning and you’ll be less likely to forget to turn one.
-
Candling
It is best to perform candling on day 4, 10 and 18 of incubation to monitor the growth of the embryo. For the best results, work as quickly as possible so you can return the eggs to the incubator ASAP.
Make sure you know what to look for before you start candling to speed up the process. If the egg is developing normally, you should be able to see a dark spot with veins extending from it in the middle of the egg. Practice your technique on unfertilised eggs to perfect the technique and to build confidence.
-
Hatching Tips
If everything goes according to plan, your eggs should ideally begin hatching on day 21 (other breeds like Bantams may hatch closer to day 19). Once chicks start the hatching process, they can stay in the incubator for up to 24 hours. The yolk they absorbed before hatching should sustain them during this time.
The hatching process may take as long as a day or more, so as long as there is progress in between periods of rest, don’t interfere. If possible, let them hatch all on their own. Helping can cause a lot of harm and even lead to death so only interfere if your chick has been struggling and stuck for more than 24 hours. If you help a chick hatch, very gently peel back the eggshell and let the chick push himself out of the eggs. Make sure not to rush the process.
The whole incubation process can be incredibly rewarding and exciting. There are some parts of incubation that can be incredibly stressful, but if you learn all you can before you start, it should be much easier to handle the stress. -
Enjoy The Process
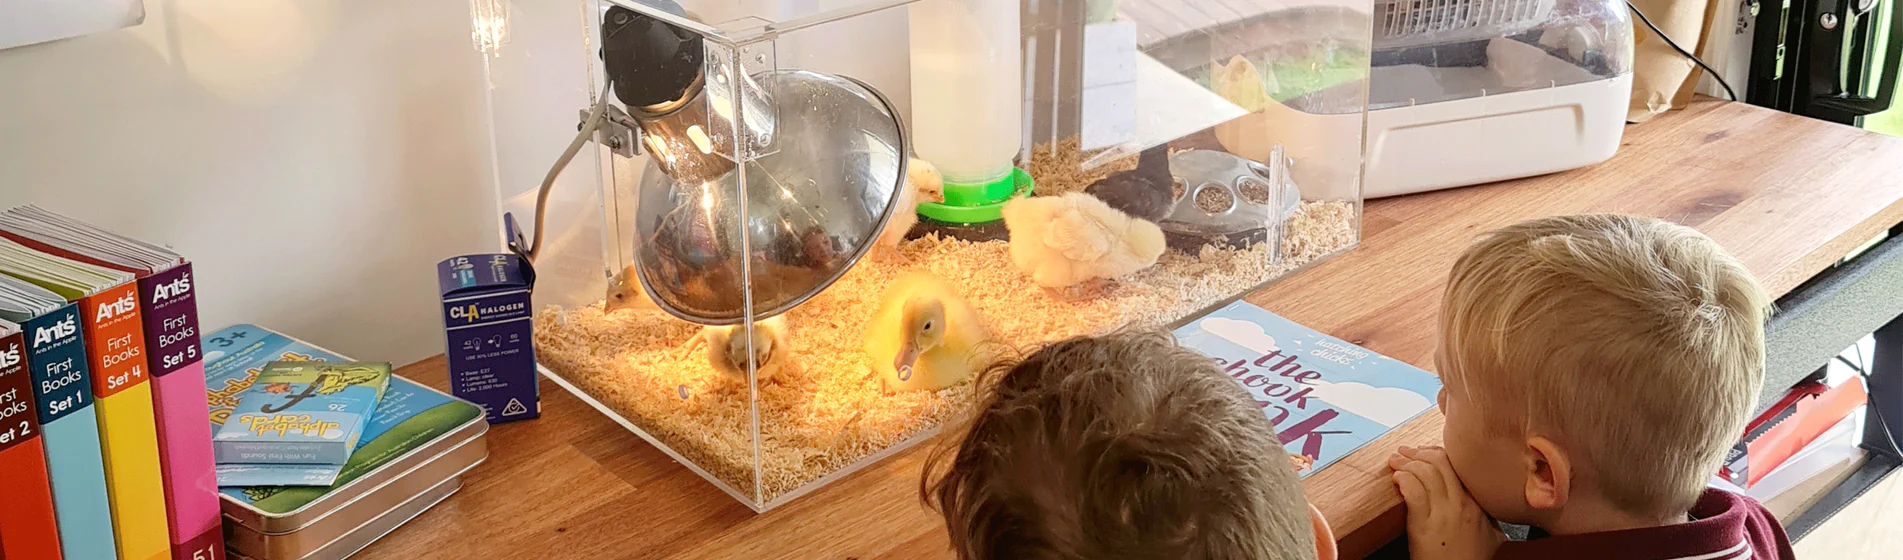
Ultimately you are helping to bring new life into the world so you should feel incredibly proud of yourself. You can use the incubation time to bond with your family since it is a great learning experience for kids. The ultimate reward is seeing those cute, little fluffy chicks finally break out of their shells to enter a new world.
Bringing new life into the world is a joyful experience and you should feel proud. After the hatching you still have some work to do however, you now need to raise the chicks you hatched. Keep reading more of our articles so you’re fully prepared for every step you will have to take to get your chicks from fledgling to chook.
Experience and Learn Egg hatching with the 12 Day Chicken Hatching Program
Recommended for Early Learning School centers, Aged Care, different companies and at homes for personal learning experience. Providing Chicken Programs Since 2001 to Sydney, Central Coast, Canberra and the Illawarra.
