The Best type of Incubation method
If you love chickens, the idea of raising your own flock from babies must be accelerating. There are two ways you can go about hatching and raising baby chickens. The first is by using an incubator and brooder and the second is the more natural broody hen way.
Both methods for raising baby chickens have different levels of involvement. A lot depends on how involved you want to be and if you would like to do the mothering or leave it up to your capable hen. So let’s look at the different methods to find the best one for you.
The Incubator Method
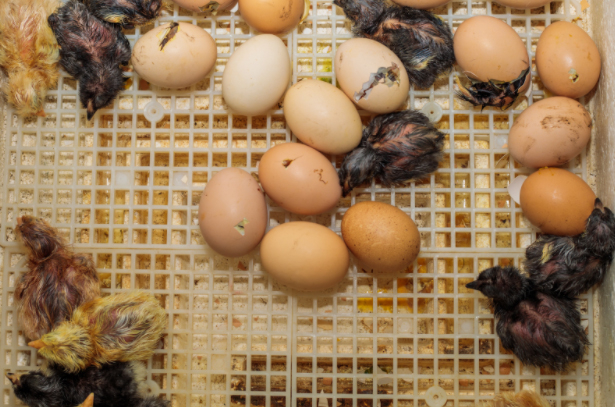
If you want to be very hands-on and raise baby chickens yourself, then an incubator is most definitely your best choice. Using the incubator method involves placing fertile eggs in an incubator (a small box-like machine used to regulate the temperature and humidity around the eggs) and monitoring them for approximately 21 days.
The incubator does most of the work by regulating the temperature and humidity and if you would prefer, turning your eggs three or more times a day. You can, however, turn the eggs yourself if you have the time and would like to be more involved.
Egg turning is very important and an essential part of incubation. It ensures that the embryo develops properly and does not stick to the side of the egg. There are still a lot of other things to do for you as a new mother hen to ensure the hatch goes smoothly.
Once the babies are hatched, you will need to keep them warm and safe in a brooder and teach them how to care for themselves by showing them how to eat and drink. You will be completely responsible for their care without a mother hen to help out.
What To Do First
The first thing you will have to do is warm up the incubator and monitor the humidity. It is best to plug in the fertiliser and warm it up 24 hours before you place your fertilised eggs inside. You may have to do some adjustments to the temperature and humidity of the incubator during that first 24 hours to get in just right for your fertilised eggs. Warming it up beforehand also gives you time to find any major issues with the machine before it really matters.
Most incubators are simple to adjust. To adjust the temperature you can press the + sign to increase the temperature and the – sign to reduce it. To adjust the humidity you can open the incubator lid until you see the humidity level dropping to sufficient levels or spray water into the provided opening to raise the humidity levels.
Be careful not to overdo the spraying because the levels will take time to raise to sufficient humidity levels. You will need to keep an eye on both temperature and humidity throughout the 21-day incubation process to make sure they stay at the correct levels.
Candling The Eggs
So you’ve successfully heated up the incubator, but now what? The second task you will have to do is candling the eggs, but what exactly does that mean? Candling involves shining a light on the one end of an egg to make what is happening inside visible through the shell. Candling will have to be done on the day you put the eggs into the incubator and then again on day 4, 10 and 17. Some people like to do it more, but it is not really necessary.
- What to look out for
Candling is important to monitor the growth of an embryo, but how will you know if what you see is normal or not? Just a quick tip, candling is best done in a dark room to make the visibility better. Here are a few things to look out for when doing candling.
- The day you start incubation
There will most likely not be much to see. You might notice a very tiny red spot but mostly the egg should look clear. If you notice a red ring in the egg, remove it immediately. This egg has already died and will go rotten in the incubator.
- Candling day 4:
- If the embryo is healthy, you will be able to see a dark spot in the middle of the egg with tree branch-like veins sticking out around it.
- If the embryo didn’t make it (it happens, it’s not your fault), then you will see a red blood ring around the eggs. This egg should be removed immediately since it can go bad and explode in your incubator. It can also affect the other healthy eggs causing them to die.
- If the egg is clear, the egg might have been infertile or too old before incubation started for growth to take place. It is best to remove these eggs since they can go bad in the incubator.
- Candling day 10:
- You should be able to see a large dark spot where the embryo is developing and tree branch-like veins spindling out from it
- If you can see spots or red, bloodlike rings in the egg, the embryo didn’t make it so remove the egg from the incubator.
- Candling day 17:
- The growth of the embryo is near complete at this stage, so most of the egg should appear dark. The veins and yolk should still be easy to identify.
- If you see any blood rings or notice a foul smell from the egg, you should remove it immediately. The embryo, unfortunately, didn’t make it.
Preparing for hatching day
You will have to start preparing for hatching day on day 18 of incubation, so make sure to keep track of the days. On day 18 you will have to stop egg turning, if you do it manually, or turn off the automatic egg turner. The embryo now needs to settle to prepare for hatching.
You will have to make some adjustments to the temperature and humidity so make sure to read up on hatching day preparations. Once hatching day arrives, there isn’t much for you to do, but keep an eye on them.
Remember that you will have to teach them how to eat and drink and you will also be responsible for keeping them warm. Make sure that your brooder is ready for hatching day 24 hours before hatching is supposed to start on day 21.
The Hen Method

Do you feel the natural way of hatching and raising baby chickens is better? Then going the broody hen method is the best option for you. This method is a little less hands-on since the hen will be doing everything for her eggs and baby chicks, but there are a few things she can use your help with.
Where to start
First, before you can do anything else, you need to make sure that you have a broody hen available for the eggs. Some breeds, like the silkie, have a natural tendency toward broodiness. Others might need a little more encouragement to do the job.
The best way to encourage broodiness is to leave some eggs in the nesting box. If you would prefer not to waste any eggs then replace them with fake wooden ones. You will find that your hen will become naturally broody once a clutch of eggs has built up. You are now ready to replace the fake and infertile eggs with fertilised eggs for hatching.
Caring for your broody hen
A broody hen needs a bit of extra care to successfully raise baby chickens for you. Hens tend to neglect their own needs when they are incubating their eggs. The hen will eat and drink dramatically less than usual so it is very important to make sure the hen has food and water close by so she doesn’t have to leave the nesting area to get sustenance. She will also need nesting straw, a nesting box and a quiet dark coop away from other chickens.
Sometimes, for unknown reasons, the hen will abandon her eggs or baby chickens. You need to keep a close eye on her so you can jump in and rescue them if that happens. Make sure to have a brooder and incubator on standby just in case of an emergency. Only chicks younger than 6 weeks will need an incubator, if they are older, they should be ok in their normal coop without their mother.
If you do have a hen raising the chicks for you, you don’t have to worry about teaching them to eat or drink or keeping them warm, the hen will do all of that for you.
No matter how you decide to raise your baby chickens, it is an incredibly rewarding process. Baby chickens are just adorable and there is a lot you can do for them even if you decide not to be completely hands-on in the process and letting a hen raise them for you.
If the chicken or machine is better, depends completely on you. Chickens have the benefit of being able to teach the babies how to be chickens from the start. If you raise them yourself, you will need to make sure they get all the chicken experience they need to become fully fletched healthy chickens.
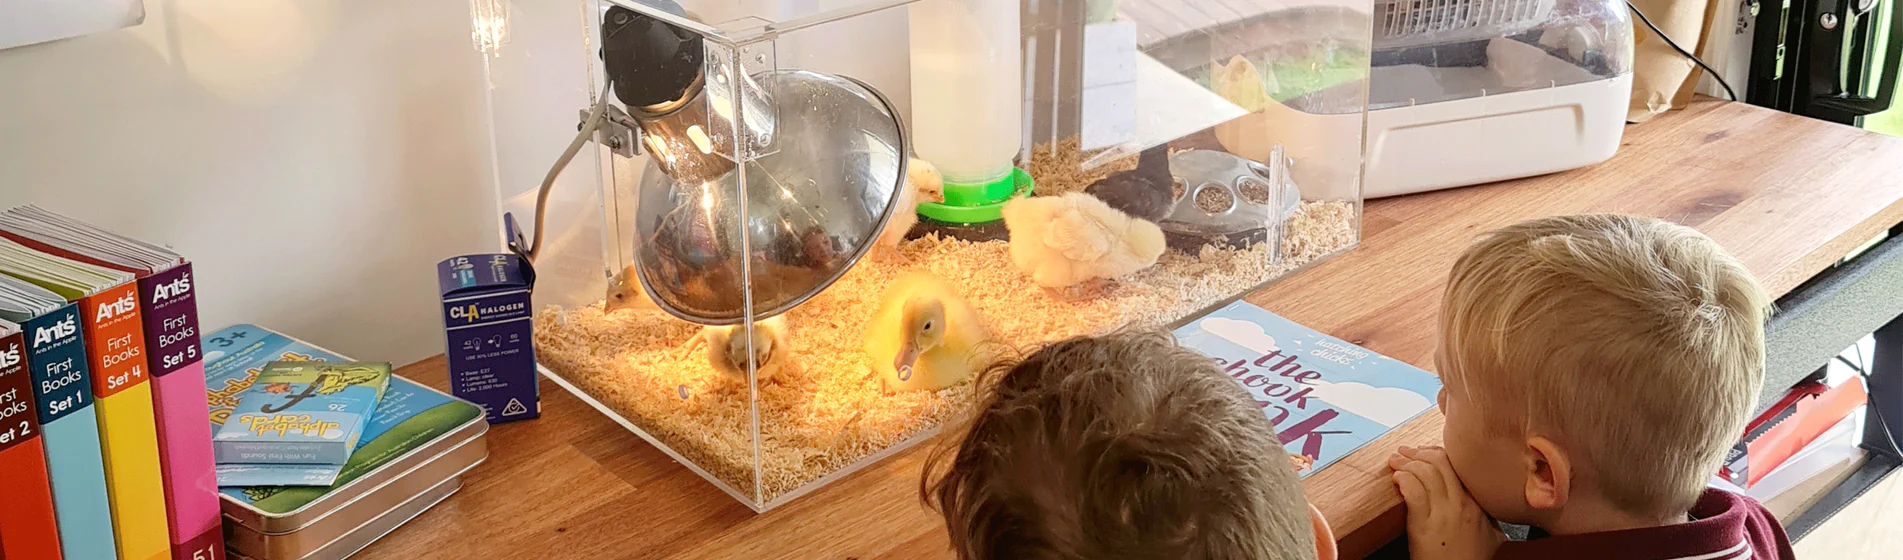
Experience and Learn Egg hatching with the 12 Day Chicken Hatching Program
Recommended for Early Learning School centers, Aged Care, different companies and at homes for personal learning experience. Providing Chicken Programs Since 2001 to Sydney, Central Coast, Canberra and the Illawarra.
